Gluten-Free Bread
A Rich, Nourishing Bread
Gluten is a natural component of the grains most commonly used for baking bread. It is a protein found in wheat, rye, spelt, and barley. It acts as a binder in these flours, allowing dough to stretch and rise and making bread soft, light, and airy with a crisp crust. These are qualities we enjoy in bread and other baked goods. “Ordinary” bread is most often based on wheat. Even when one fifth corn flour is added, giving it a yellow color and the name “corn bread,” it is still predominantly white wheat bread. In our culture, this is the bread most commonly eaten, with or without a little added “color.”
Grains, especially in the form of bread, are a foundation of our eating habits. They are rich in minerals and fiber and provide essential nourishing energy. With such a broad choice of grains, it would be a shame to stop at wheat and white bread.
Gluten has recently been discussed frequently as an allergen and an ingredient that can cause food intolerances. Gluten-free versions of basic baked goods are becoming increasingly popular.
Whatever your view of gluten, gluten-free bread offers a way to enrich your everyday diet with a variety of grains and therefore different sources of valuable nutrients.
These recipes introduce a basic method for making bread from gluten-free grains. I suggest three options, millet, corn, and buckwheat, with a rice base and tapioca as a binder.
The Basic Steps to Golden Bread
1. Choosing the Flour
The first step is deciding which flour you will use. In these recipes, rice flour forms the base. To it we add the flour that gives the bread its character, tapioca as a binder, and oats when needed to thicken the mixture.
2. Grinding the Grains
You can buy rice, millet, corn, and buckwheat flour, or use whole grains and grind them in a good coffee grinder. I find this easier and better because I keep whole grains at home and grind only as much as I need immediately before use. Freshly ground ingredients contain more prana than something that has stood ground for a long time and gradually lost its vitality. We know this is true of coffee and spices, whose aromas are very different when freshly ground compared with factory-ground powders that have been packaged and left on a shelf. The same applies to grains. If you can, grind them just before use.
3. Soaking
These grains would normally require longer cooking, so we should remember that they also need to “cook” inside the bread, meaning they need heat in a moist environment. For that reason, soak the grains after grinding them into flour overnight, or for at least six hours. Long soaking allows the firm grain, now in the form of flour, to absorb water. Without this step, believe me, the bread crumbles and never develops its rich flavor. Buckwheat is not soaked because it absorbs an almost unlimited amount of water and cannot be drained in the same way.
After grinding the grains into flour, place them in a large bowl, cover with plenty of water, and stir until there are no lumps. Gluten-free flours separate from the water after a while and settle like sand. Flour containing gluten begins to form a homogeneous, pancake-like mixture as soon as it meets water and will not separate, but these flours will. Simply stir and leave them to settle. When draining, pour slowly over the edge of the bowl. You need neither cheesecloth nor a strainer; stop before the settled “sand” begins to pour out, because we want to keep it. Once it settles, this is not difficult. I enjoy soaking and like to change the water once during the process: drain it, add fresh water, stir again, leave it for a few more hours, and drain it once more before the final preparation.
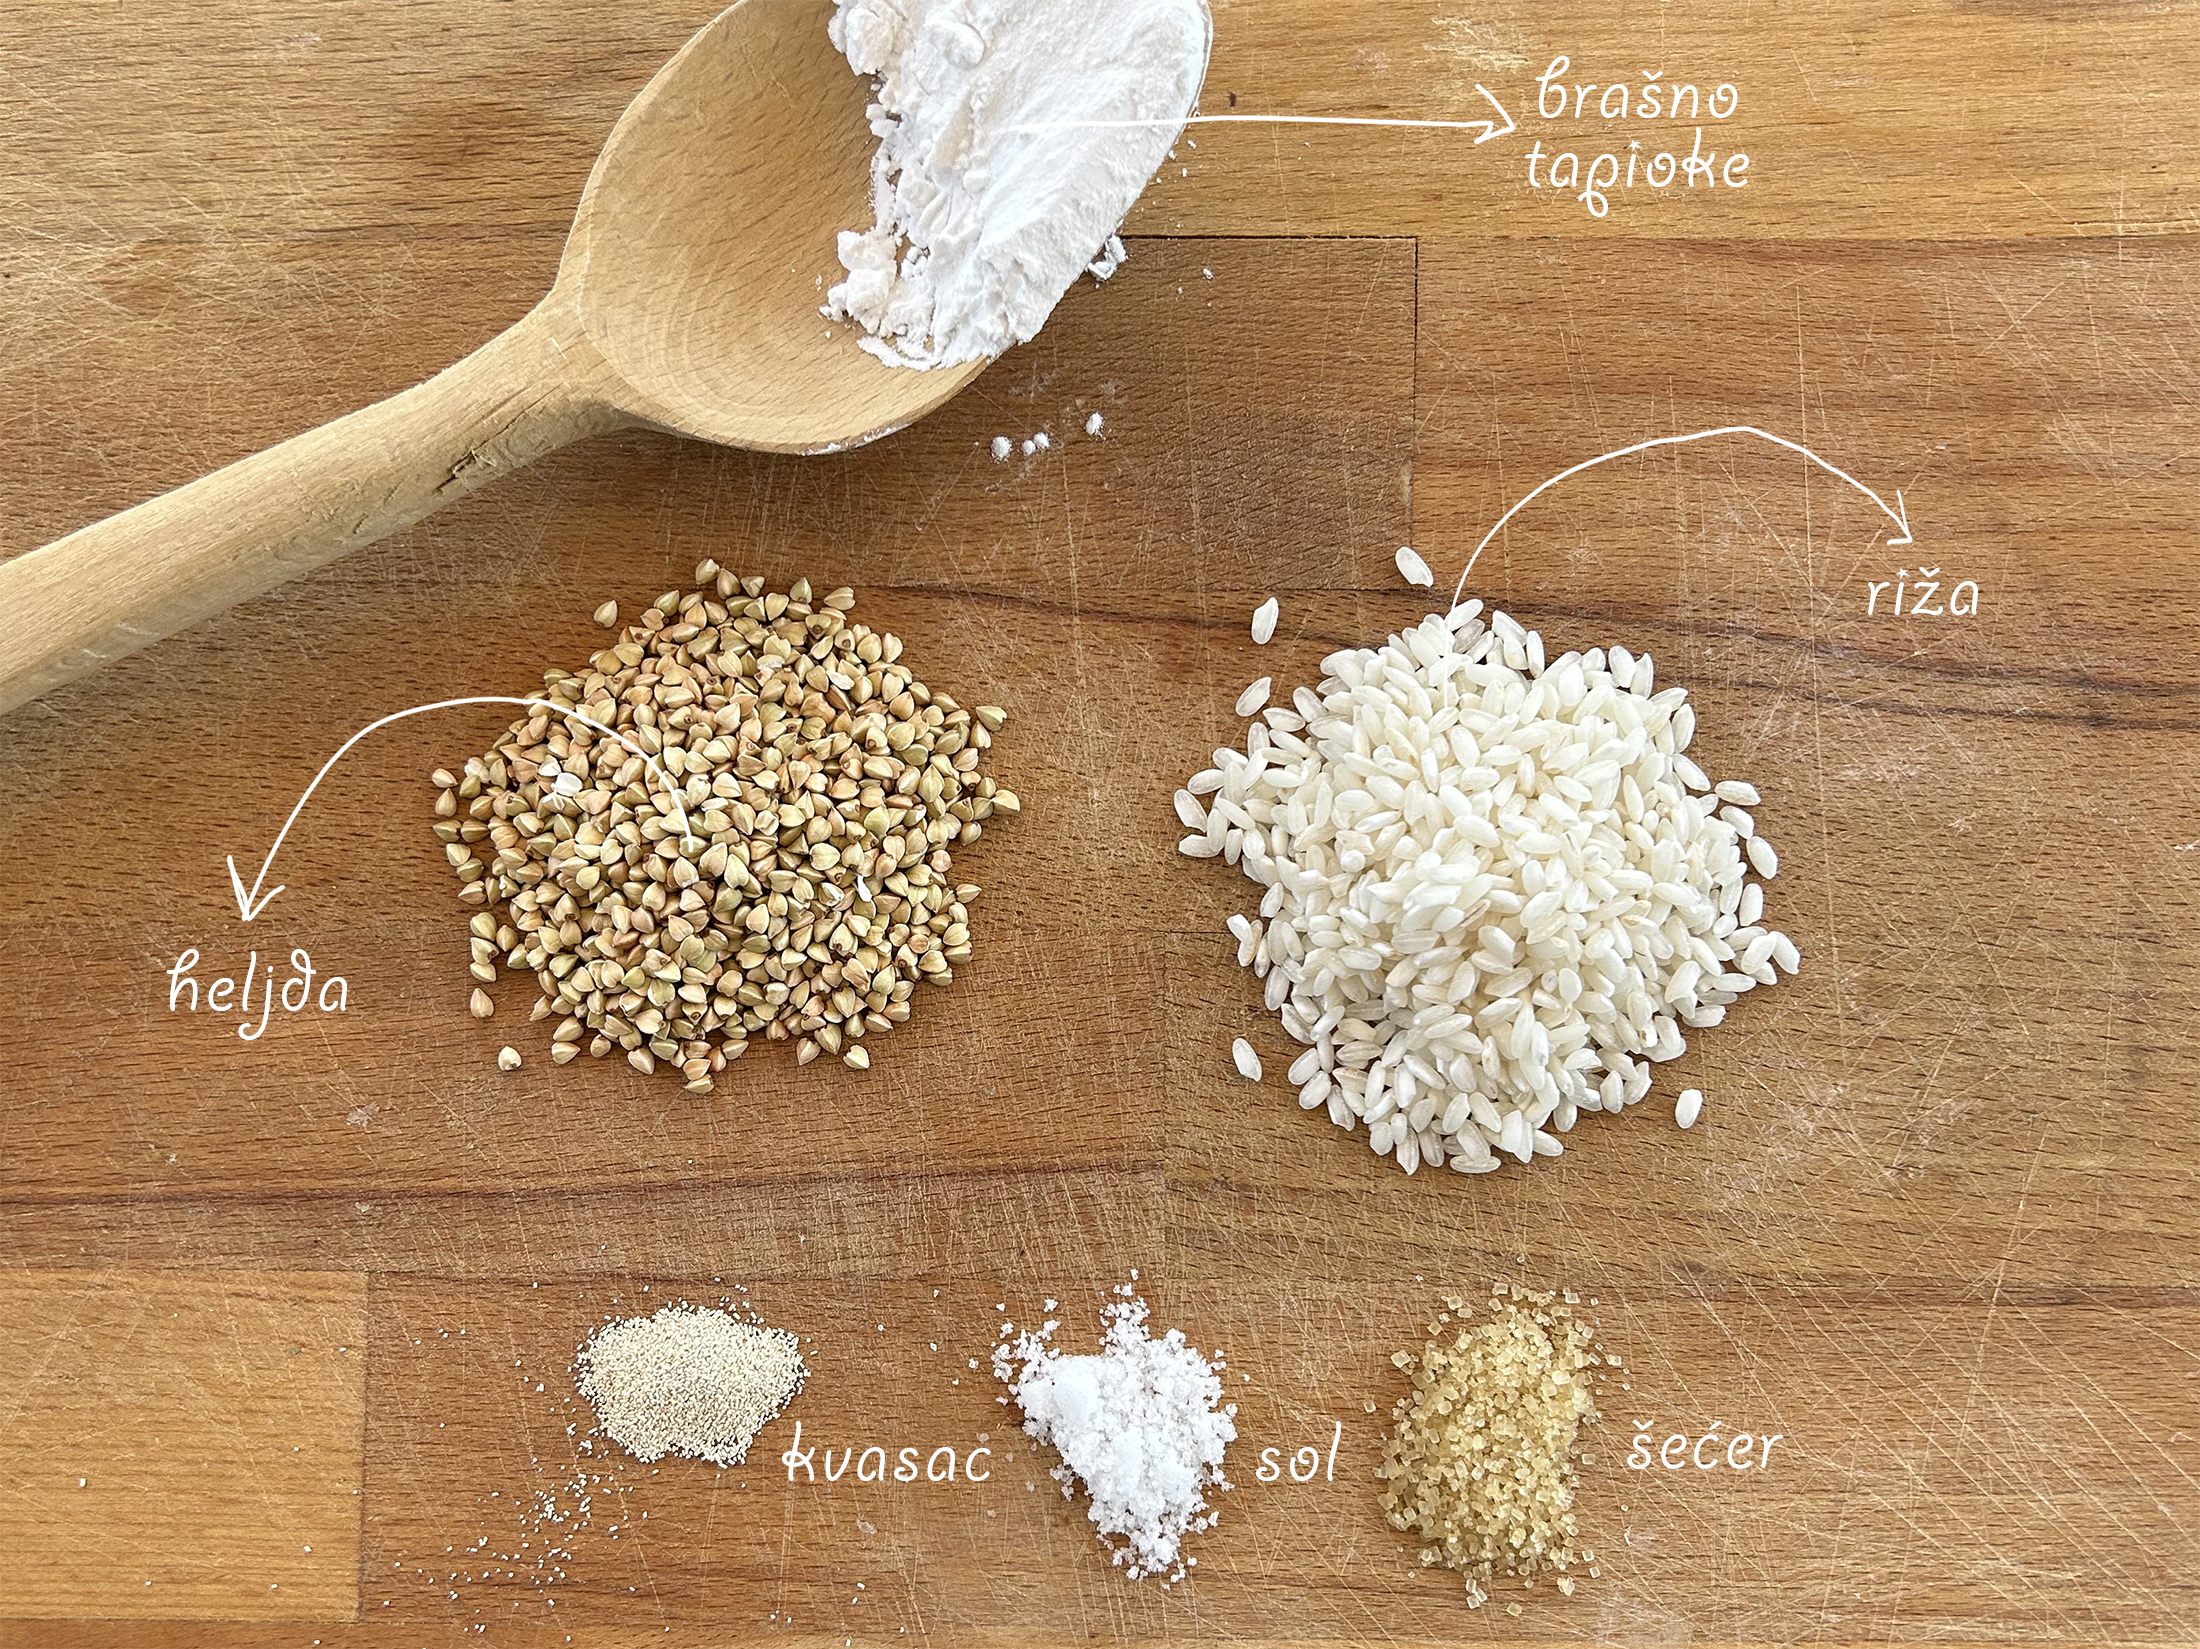


4. Ingredient Ratios and Baking Consistency
Once the grains are soaked, stirring produces a fairly thin mixture. For baking, this bread mixture should be thick like a puree. It is not a ball of dough as with classic bread, but it must not be too runny either. I transfer it to the baking tin with a spoon. The ideal consistency is achieved by adding tapioca and rolled oats, as described in the preparation below.
5. The Baking Tin
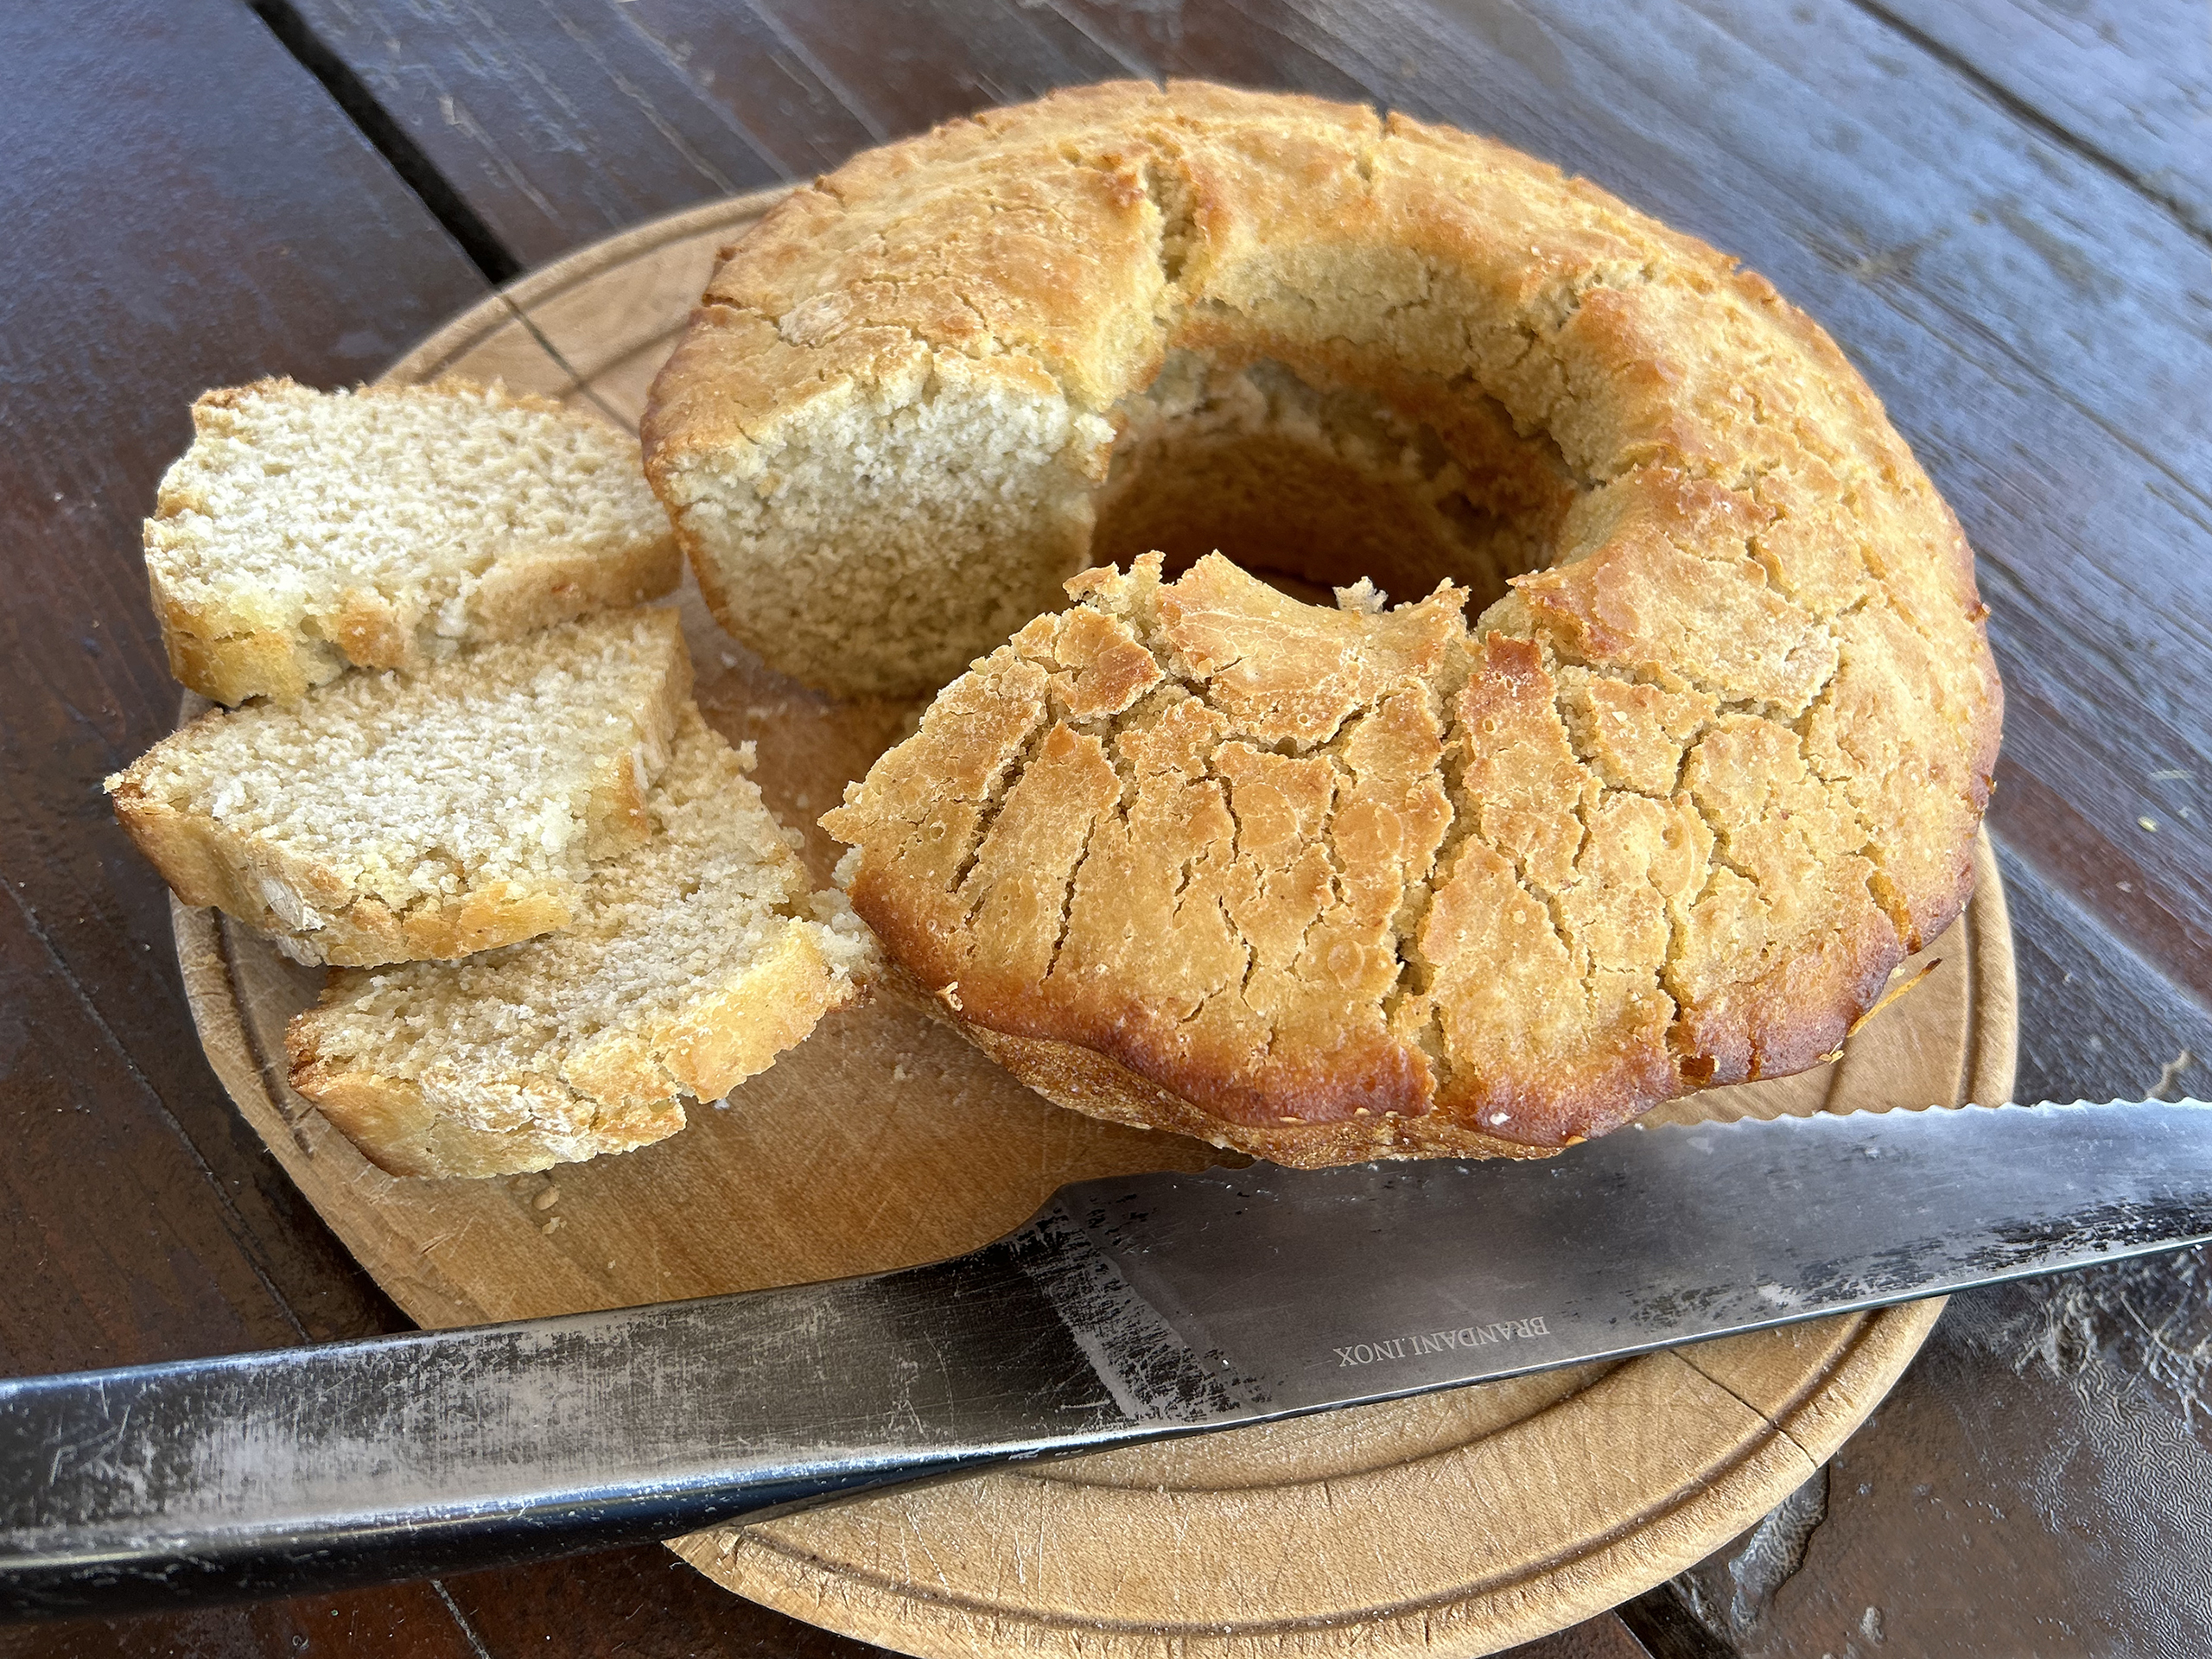
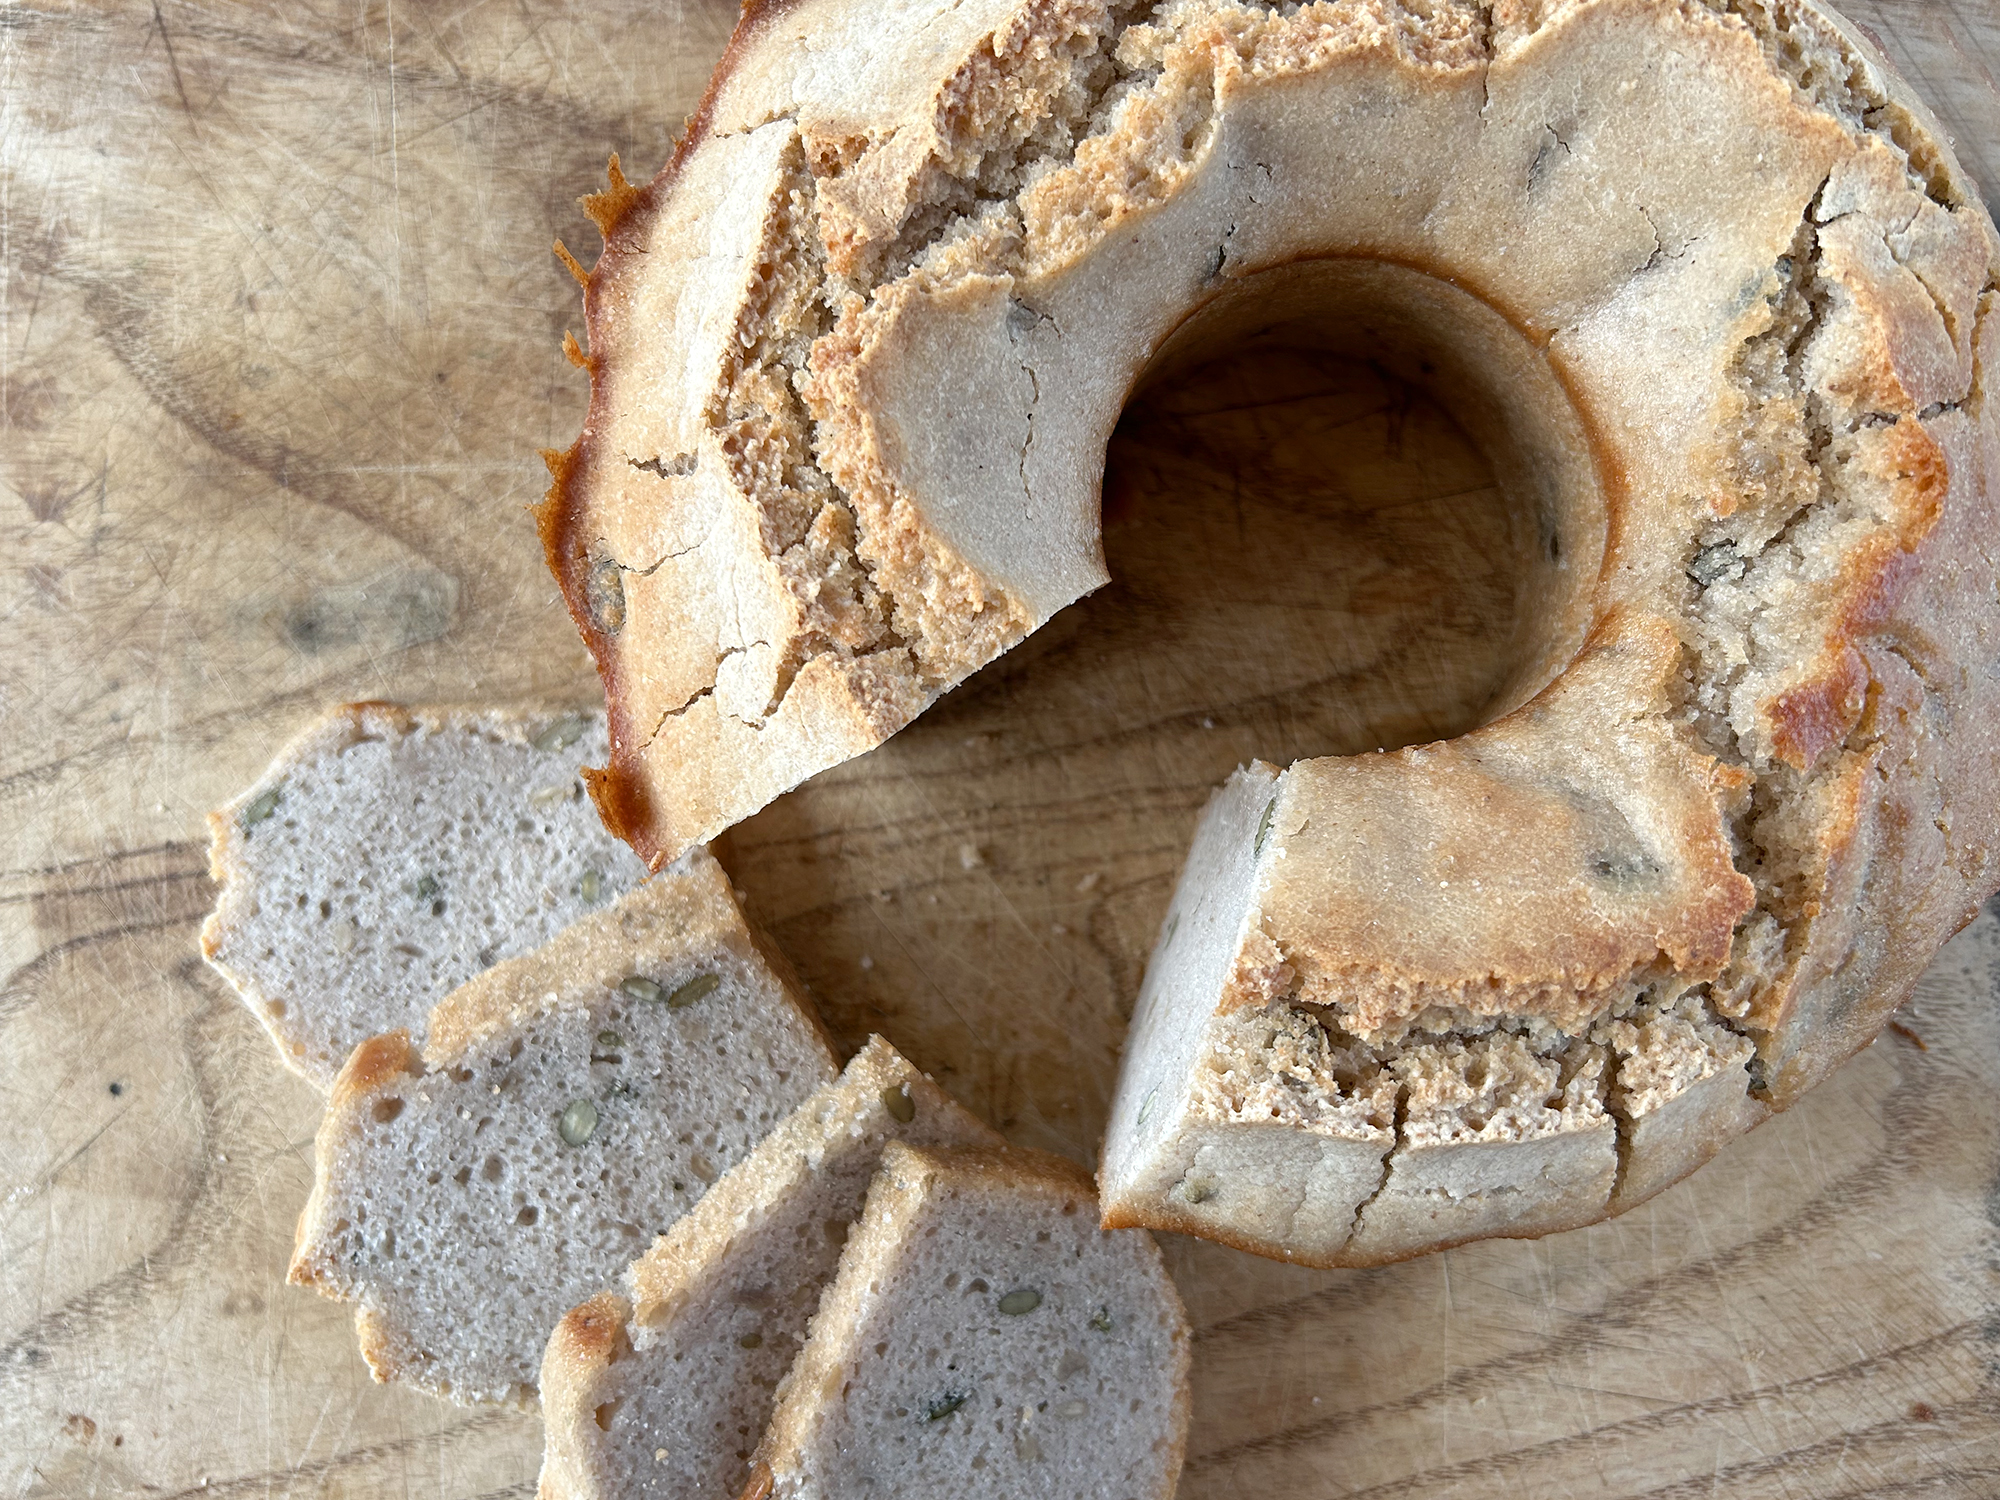
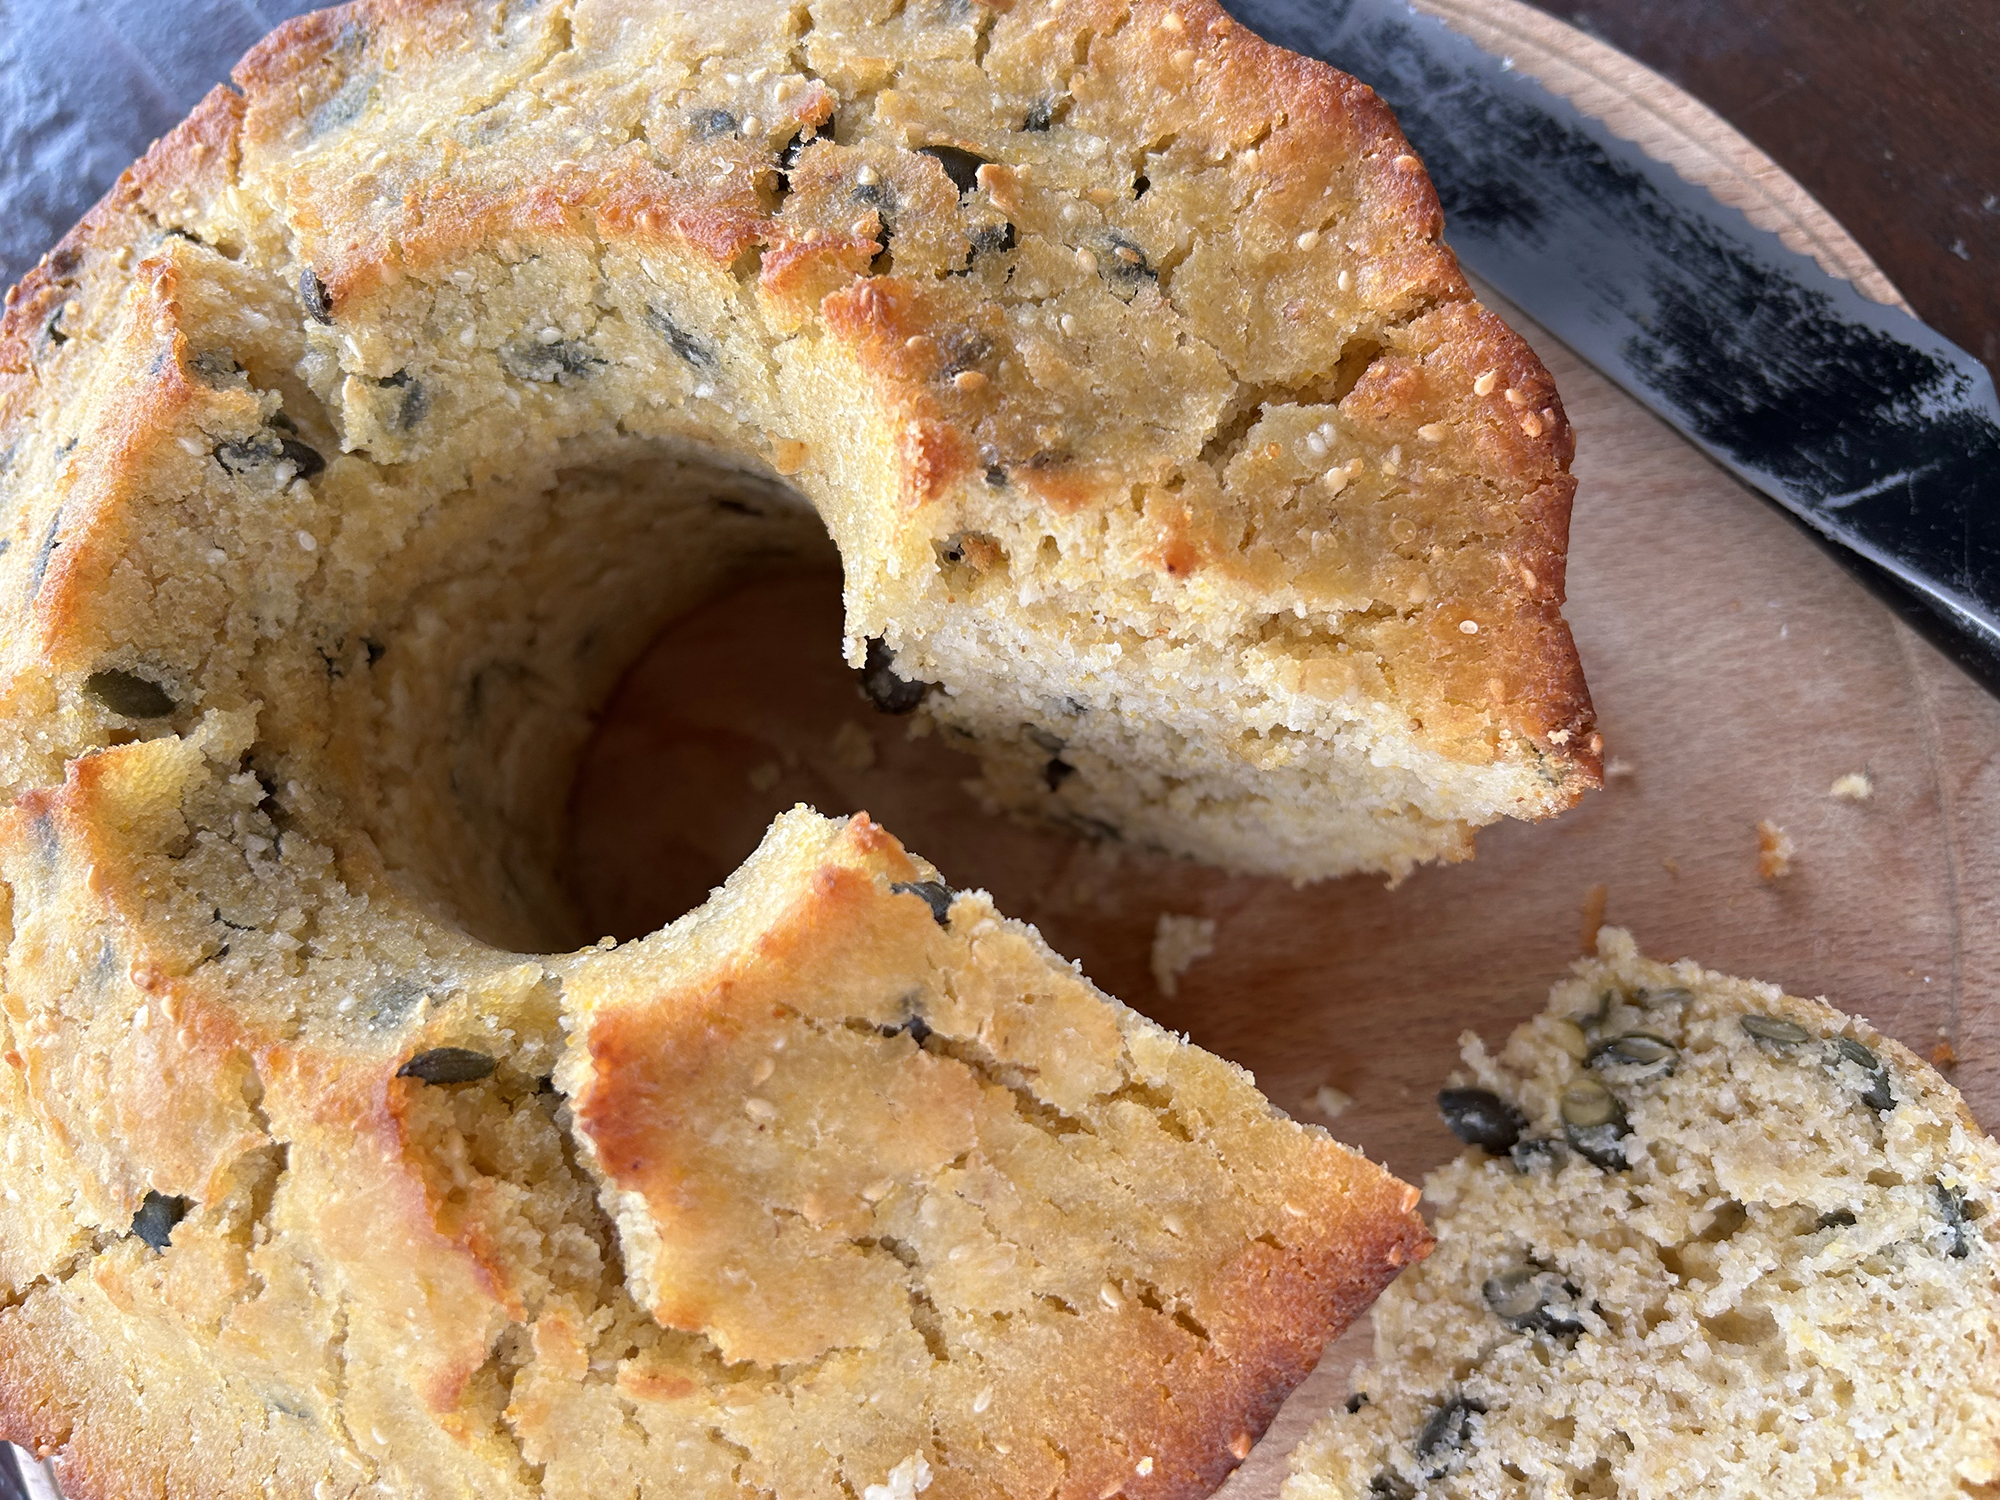
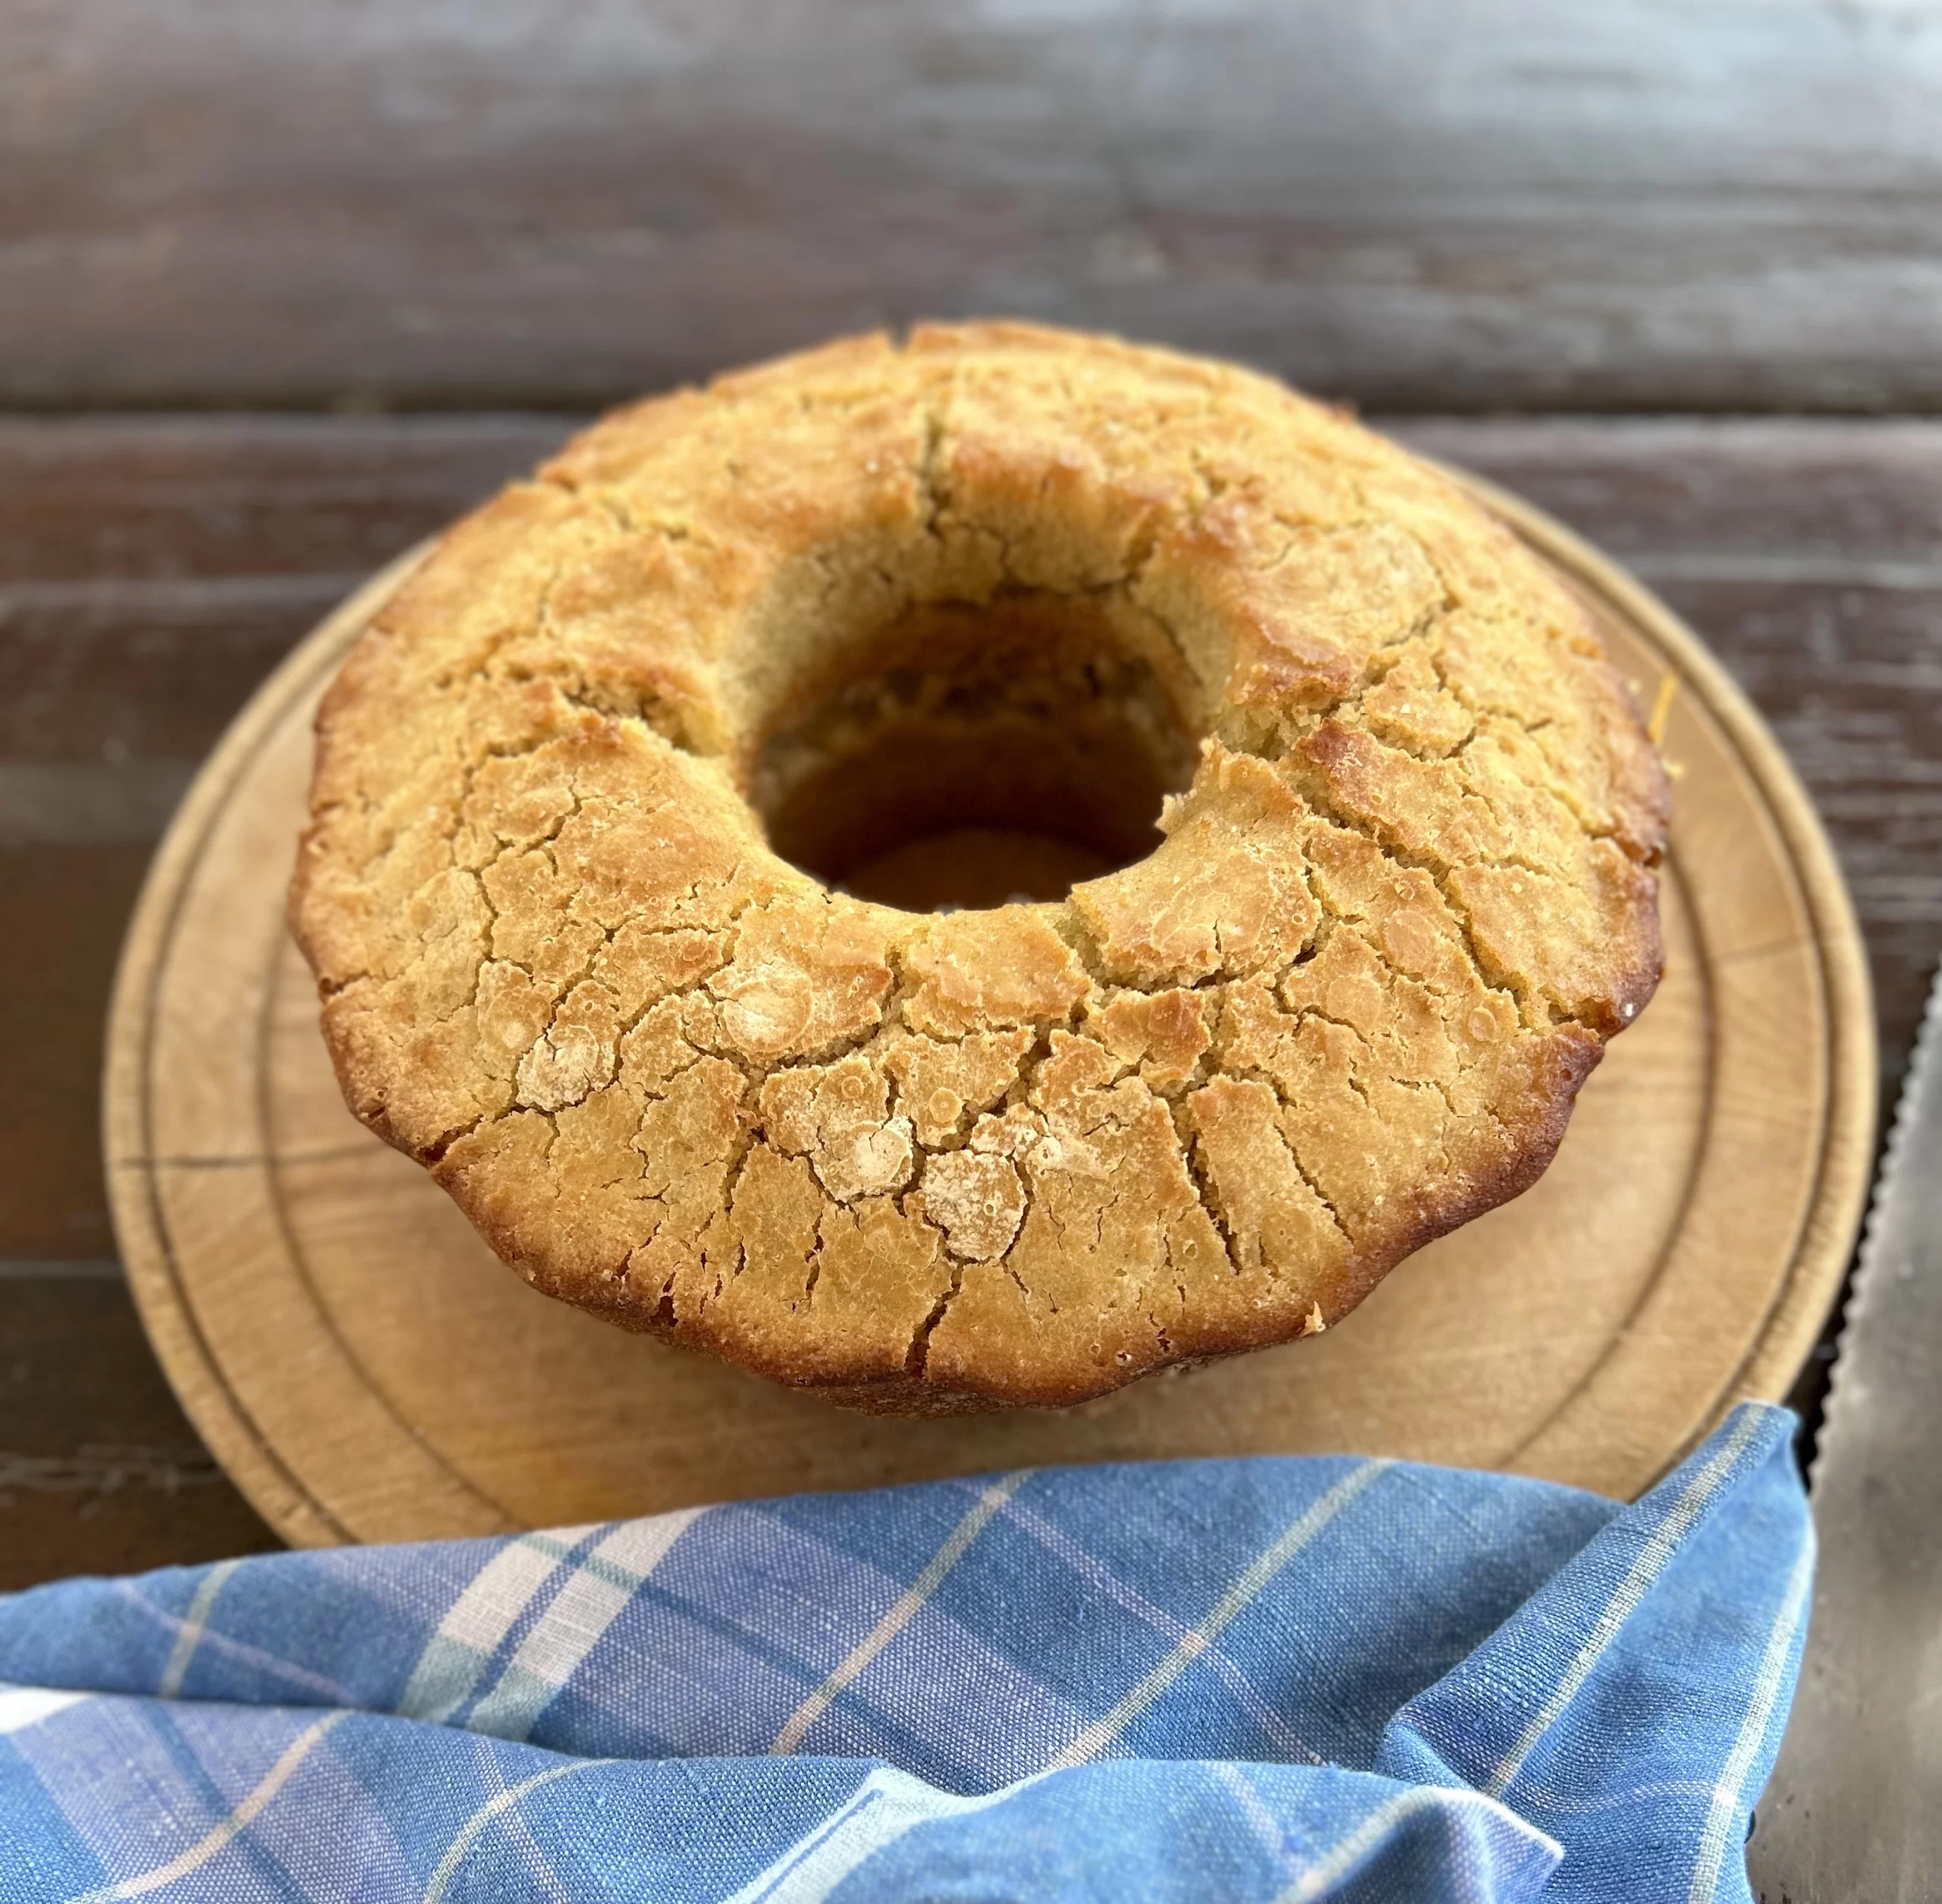
Gluten-free bread is baked in a tin. I usually use an ordinary loaf tin, but for these recipes I had a Bundt tin and found it excellent, perhaps even better. The tin needs to hold and heat the bread on every side. Choose metal, glass, or clay; plastic will not reach a sufficient temperature. A Bundt tin cooks the bread evenly because the center is reduced, whereas it can otherwise remain a little sticky. Lightly oil the tin before baking.


INGREDIENTS
– 300 g rice flour
– 250 g another flour
– 80 g tapioca flour or starch
– the water remaining after soaking and draining
– about 4 g dry yeast
– two teaspoons sugar
– one and a half teaspoons salt
– three tablespoons oil
– oil for the tin
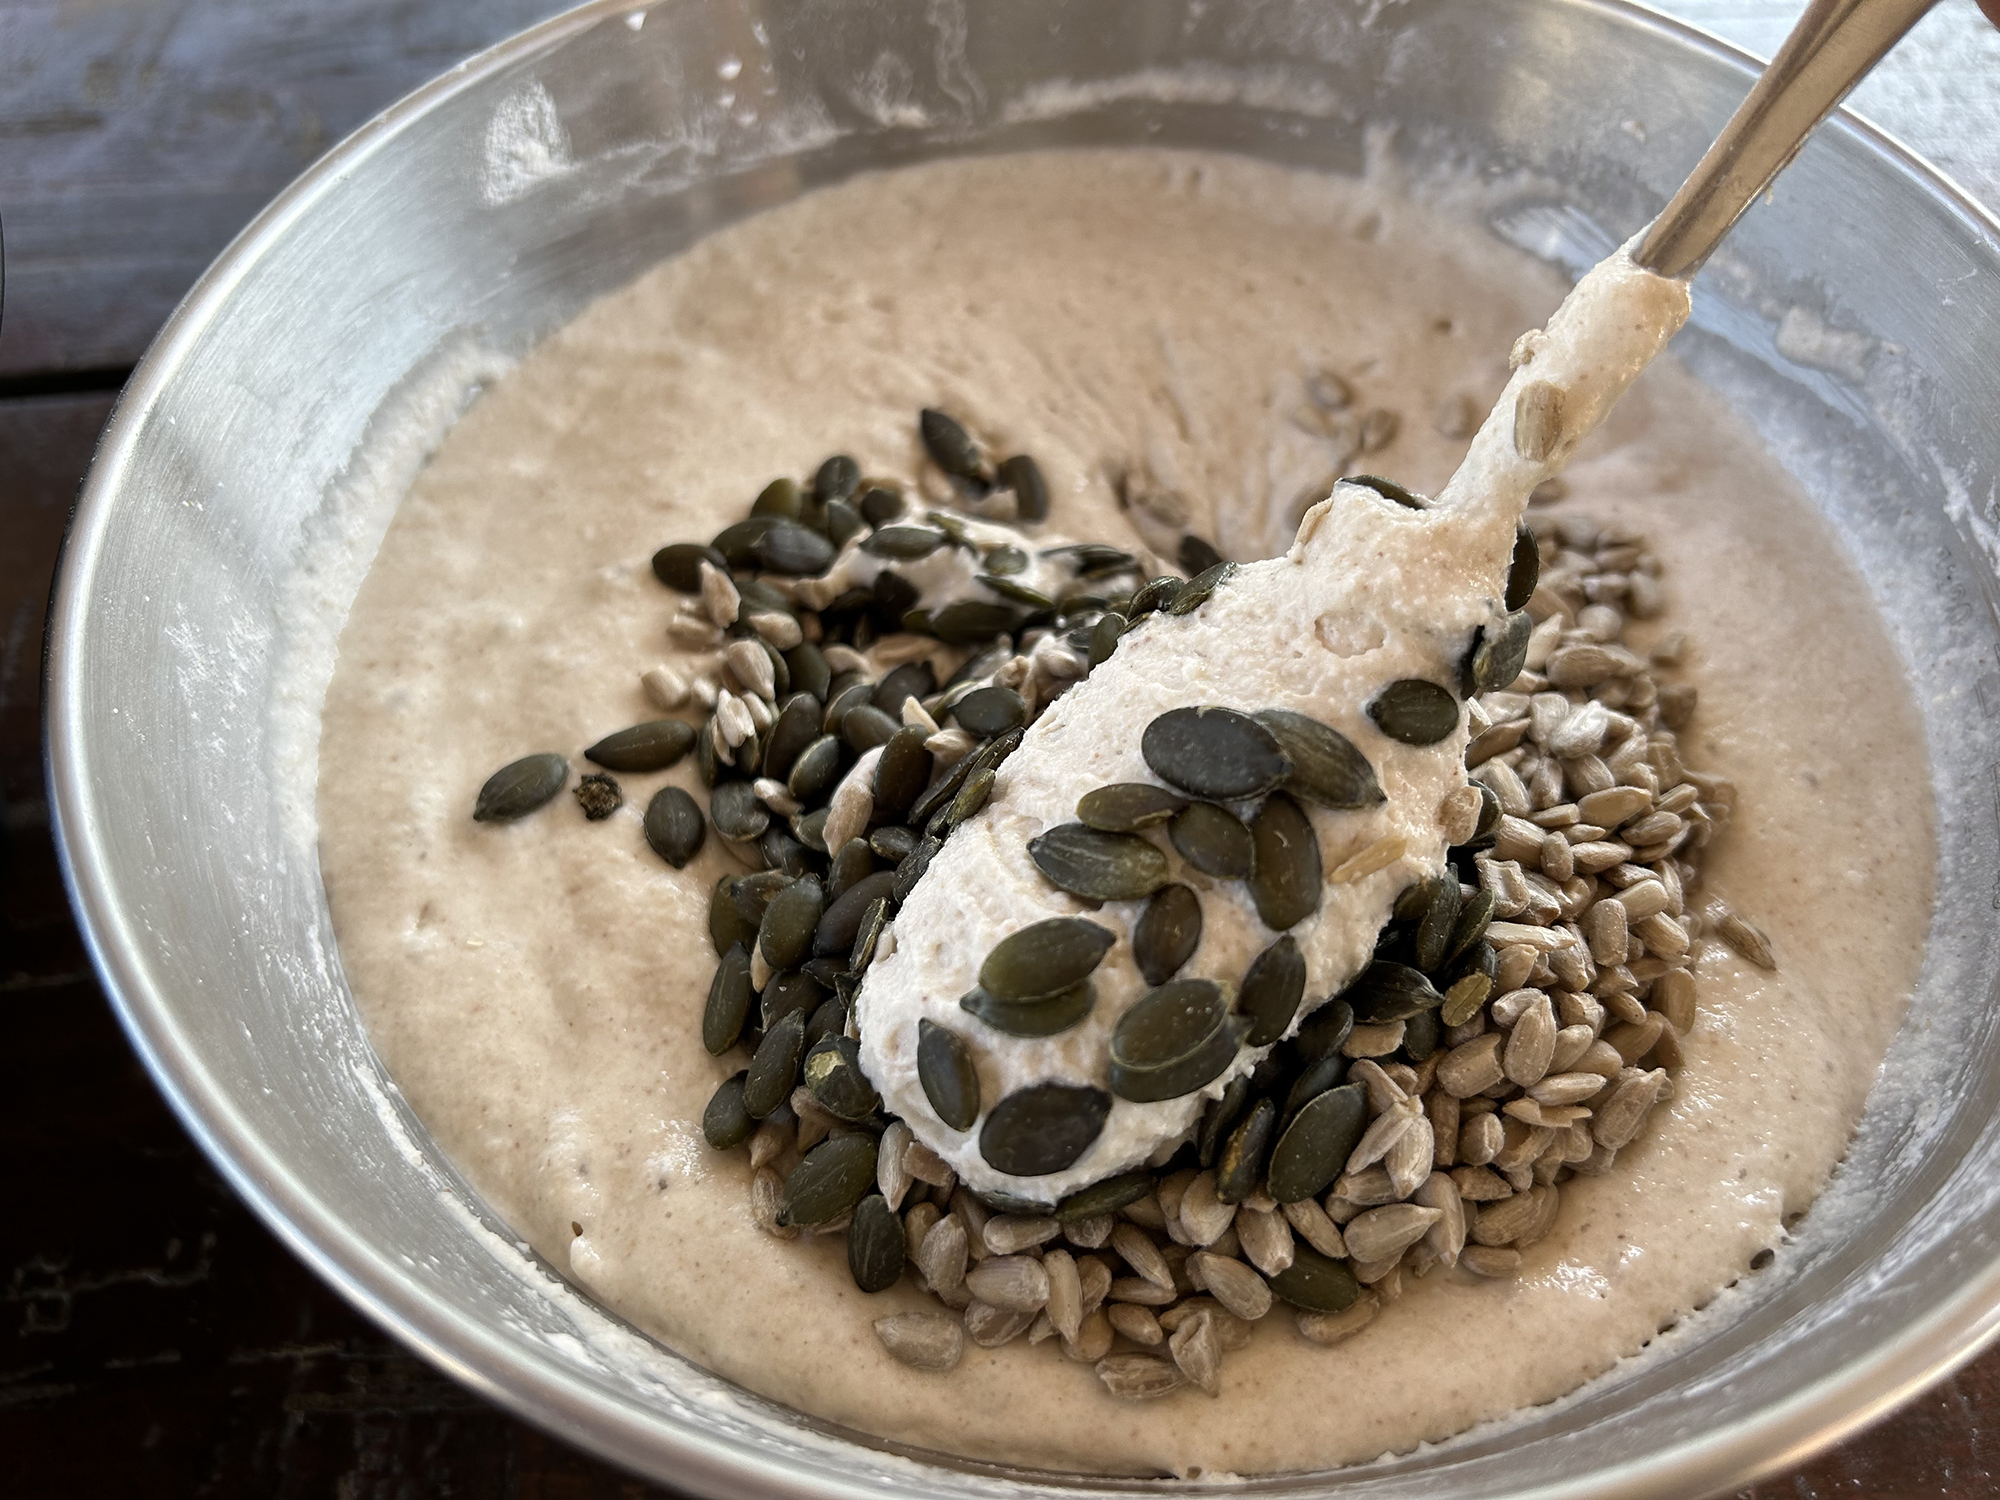
– seeds and nuts of your choice
PREPARATION
The flour has been soaked and drained; now mix all the ingredients and bake the bread. The amount of water is whatever remains after draining, so add rolled oats as needed. First stir in the tapioca, salt, sugar, oil, and yeast; baking powder can replace the yeast if you prefer. Check the thickness. With unsoaked buckwheat, the mixture may already be right and can even need two tablespoons of water. With millet or corn, add a few tablespoons of rolled oats. Leave the mixed dough for at least another three hours so the yeast can work. Then add seeds. Sunflower seeds suit everything, sesame works beautifully with rice and millet, pumpkin seeds lift corn, and buckwheat loves almonds or walnuts. Transfer the batter to the tin and bake for 45 minutes at 180 C. Do not place it in a half-heated oven.
Once you become familiar with the process, it happens almost automatically and is difficult to get wrong. A delicious, fresh little loaf will always find its way to your table.